Sunday, July 4, 2010

My Favourites video... pics of my favourites!


<---- SALLY HANSEN nail polish (mellow yellow)


<----- OCEAN PACIFIC (perfume)


 <---- WET N WILD make-up palette


<----- ANNABELLE pink lip gloss


<----- ANNABELLE pink lip gloss (what the colour kinda looks like!)


<---- JERGENS SELF TANNER FOAMING MOISTURIZER


BABYLISS PRO (red hair straightener)


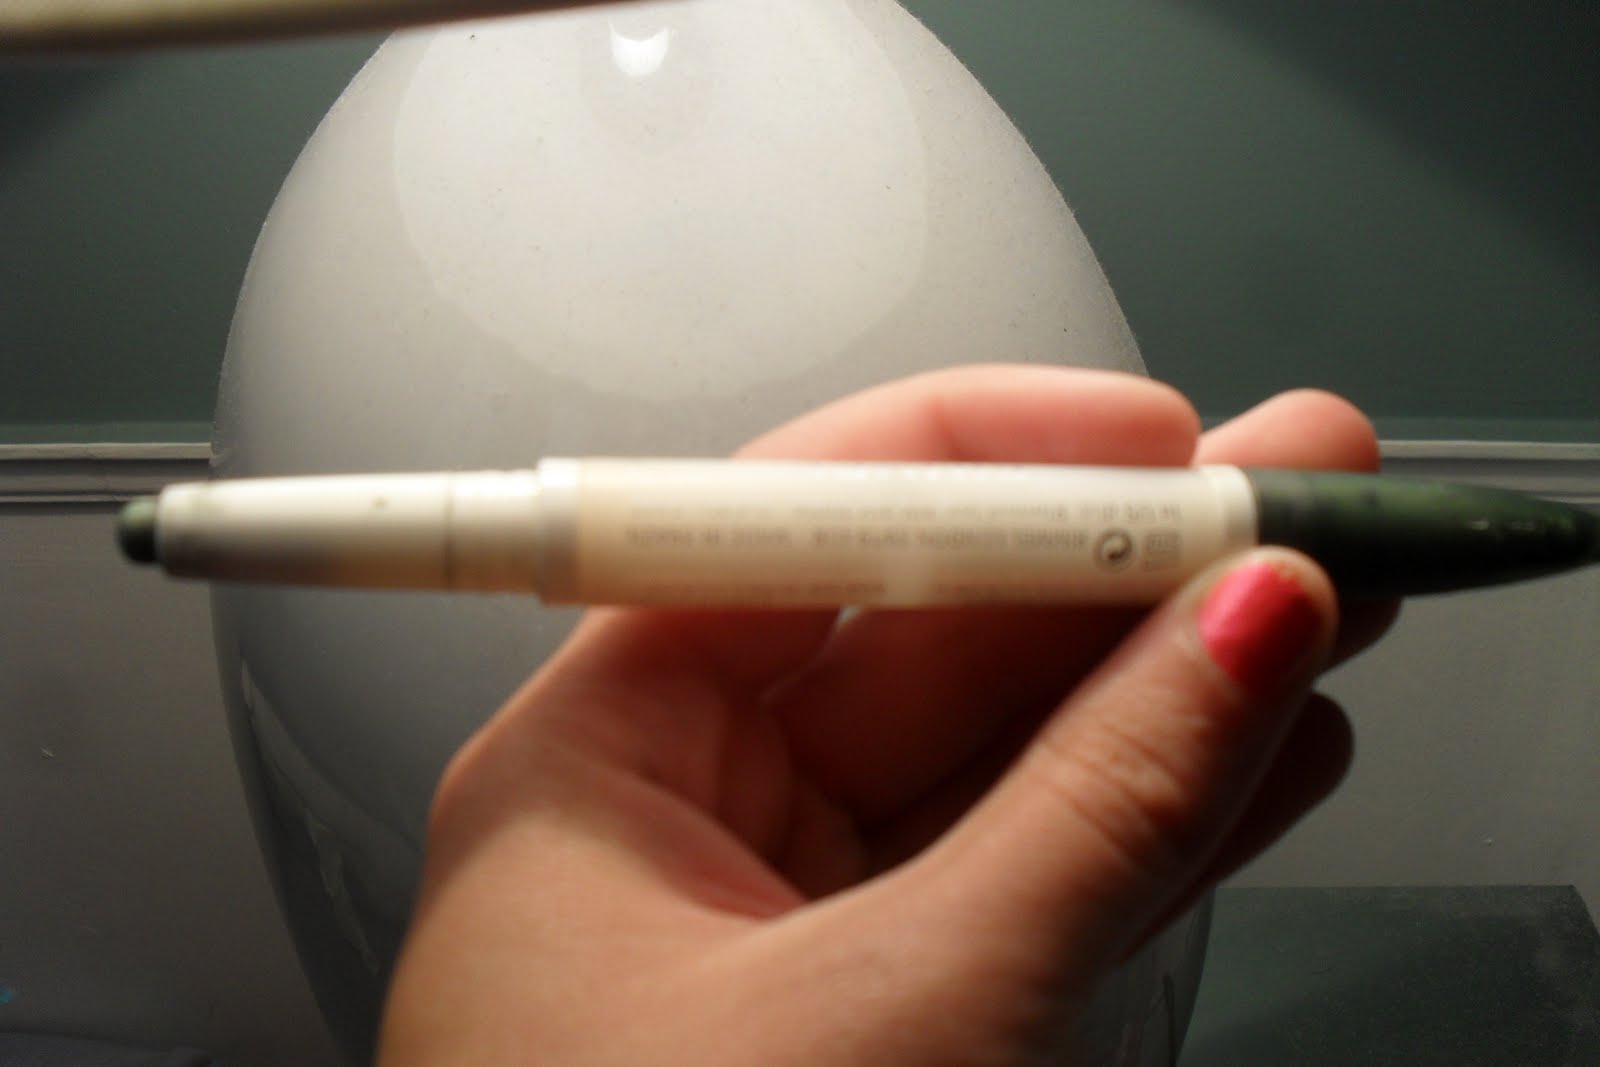
<----- RIMMEL LONDON, EYE SHADOW/ EYE LINER STICK


And here is something that wasn't in my video... but i love this product!


 <----- NEUTROGENA LIP BALM WITH SPF 15


I Love all these products!
check out my video on my youtube channel for these!  
www.youtube.com/hairluxurious

Monday, June 28, 2010

"Miley Cyrus updo Tutorial is up on youtube!/ pedicure tutorial next!

Hey Everyone, My "Miley Cyrus updo Tutorial" is finally uploading to my youtube channel right now. i can;t wait for you guys to see it... i hope you like it. And my next video that i will be posting will be a "How to do your own Pedicure" video. i just thought i'd do something different so i decided to make, a tutorial but this time on how to do your own pedicure. :) can't wait for you guys to see that as well.

Saturday, June 26, 2010

What i'm up to/Baking!


Hey Everyone, Just thought i'd do a post... to let you guys know what i am up to today... Well, first off all i baked Cranberry White Chocolate chip muffins today, they were soooo YUMMY! (no trying to brag or anything lol) And i also filmed my "How to give yourself a pedicure" video today, I know what your thinking... "i thought her videos were on hair stuff?" yes they still are but i decided to make a video today of something different. :) that will be posted next month as well as my "Miley Cyrus Updo Tutorial" can't wait for you guys to see them! well, going to eat supper now... ttyl

Friday, June 25, 2010

Miley Cyrus Updo Tutorial!

hey everyone, Ok like i said on my youtube channel... i am going to show you guys how to do an updo that Miley Cyrus has worn.. that will be my next video, that i will be uploading to youtube next month. So excited for you guys to see it! :) For now check out my "Hot roller set" tutorial video if you haven't already... and feel free to message me on youtube to suggest any hairstyle you guys would like me to show you, well that's all for now, ttyl
Sydney

Friday, June 18, 2010

Hairstyling competition a success

Hey everyone! Just a quick..post to let you guys know that the hairstyling competition that i was recently in.. well really well! But the only sad thing about it, is that hardly anyone actually showed up... i mean we had about 25 people who signed up and only about 9 people showed up :( it was very disappointing, but needless to say i had an awesome time! and i came home with prizes... (The prizes i received were... hair serum, shine spray, 2 nail polishes, a mini manicure set, a nail file.) I love everything i got! :) well that's all for this post! TTYL

Sydney

Sunday, June 13, 2010

Sushi!

Hey Everyone! Ok this is a very "random" post.. lol but today i went out for lunch to a sushi place. I love sushi! it's like my absolute favourite food. Anyways the restaurant is just a really cute smallish restaurant... and it's an "all you can eat" sushi place. They make some really delicious sushi! You can get all different kinds. Anyways i'm just rambling on here, lol but i'm going to be posting more hairstyling/hairstyle "posts". Don't forget to check out my first post for the hairstyle for the competition that i'm doing. please leave comments letting me know what you guys think! Also please check out my youtube: www.youtube.com/hairluxurious i don't have many videos uploaded on there yet... but they're are tons more to come... i think my next video might be on how to make beautiful curls using "HOT ROLLERS" Anyways ttyl.

Friday, June 11, 2010

Competition hairstyle/ Step by step hairstyle!

Ok here is how you do this romantic side braided bun up do. 

FIRST STEP
First you start off with washing your hair.. then blow drying it, (this helps styling it better) then you make one big braid down the middle of the head (the center faux hawk). (The picture that i had for the three braids kind of got deleted... sorry about that!) Then after you make the big braid in the center of the head (center faux hawk) you, make two smaller ones on each side of the head.

<------  Then you put it into a side ponytail, and take one small strand of hair, and wrap it around the elastic (as shown) to hide the elastic. Secure that piece of hair with a bobby pin (preferably a bobby pin that is closest to the hair colour) (as you can kind of see mine is a black bobby pin, i didn't really have any to match her hair colour.. but normally i would).


SECOND STEP


Then you, take your straightening iron, and you make soft natural curls in the
ponytail that you have created. (if you are not sure how to curl hair using a curling iron this is how: (http://www.youtube.com/watch?v=ffu1BmJGATQ)

<------- Just like this.


THIRD STEP


Next, you take more bobby pins and take small pieces of the curled  strands of hair from the ponytail, and start pinning them gently to the head, securing it so you don't see the bobby pins, (push the bobby pins IN and then DOWN).  Don't worry if it looks messy to you, it will be fixed later on. (As you can see mine doesn't look that neat here either). Leave some strands flowing down.
<------


FOURTH STEP


Then, take you straightening iron again, and re- curl some of those strands in the side bun part of the hair, and the ones left flowing down.

<-----


FIFTH STEP


Next, take a coloured extension (Preferably a bright coloured one) and clip it in behind the side bun, and fool around with it, until it's placed the way you want it. (if you don't want an extension in then you don't have to put one. Then fix up the up do, add more curls if you'd like.

<-----


FINISHED PRODUCT!


<------  Here is the Finished hairstyle, from the back view.


<----- Here is the finished product from a side view.


Products/ Hair Tools you will need!:

+ Small elastics
+ A straightening iron
+ A brush
+ A long- tailed parting comb
+ Hairspray
+ Heat Protector spray (optional)
+ Bobby Pins
+ Coloured Extension (optional as well)


Hope you guys enjoy this post!

Please leave comments! and check out my youtube *(www.youtube.com/hairluxurious) as well as my twitter  *(www.twitter.com/hairluxurious)

:)